Before you update
If you are running Cloudmox in a VM, we advice to create a snapshot. Should the update fail, you can easily restore that snapshot.
Via the web interface
(best practice)
Go to license and update in the menu on the left.
There you will see this button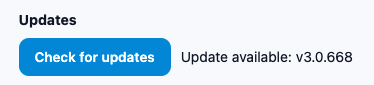
Click it, and if an upadate is available, a button apears that enables updates and the change log will show changes between versions
Via Shell
(v3.0.0 or if update failes)
Should you be running version 3.0.0 or should your update fail, you can always start an update via shell. But only use it when updating via the webinterface is not available or does not work
- Login your Cloudmox server via shell
- Go to ~/painel/deploy
- There is a file update.sh
- Give the command (as root, or sudo)
./update.sh
Should that update end with: Update concluído: 3.0.0 -> 3.0.0, you simply may run the installer script by running the code below. But make a snapshot. This is a last resort option. Don't forget to change "demo.cloudmox.eu" into your domain.
wget -qO- https://portal.inov.global/downloads/get-cloudmox.sh | sudo DOMAIN=demo.cloudmox.eu PKG_URL=http://portal.inov.global/downloads/cloudmox-3.0.667.tar.gz RESELLER_NAME="Your Company" LICENSE_SERVER=https://portal.inov.global bash
This will reinstall Cloudmox but keep the settings.
From now on you can and should use the webinterface to update.