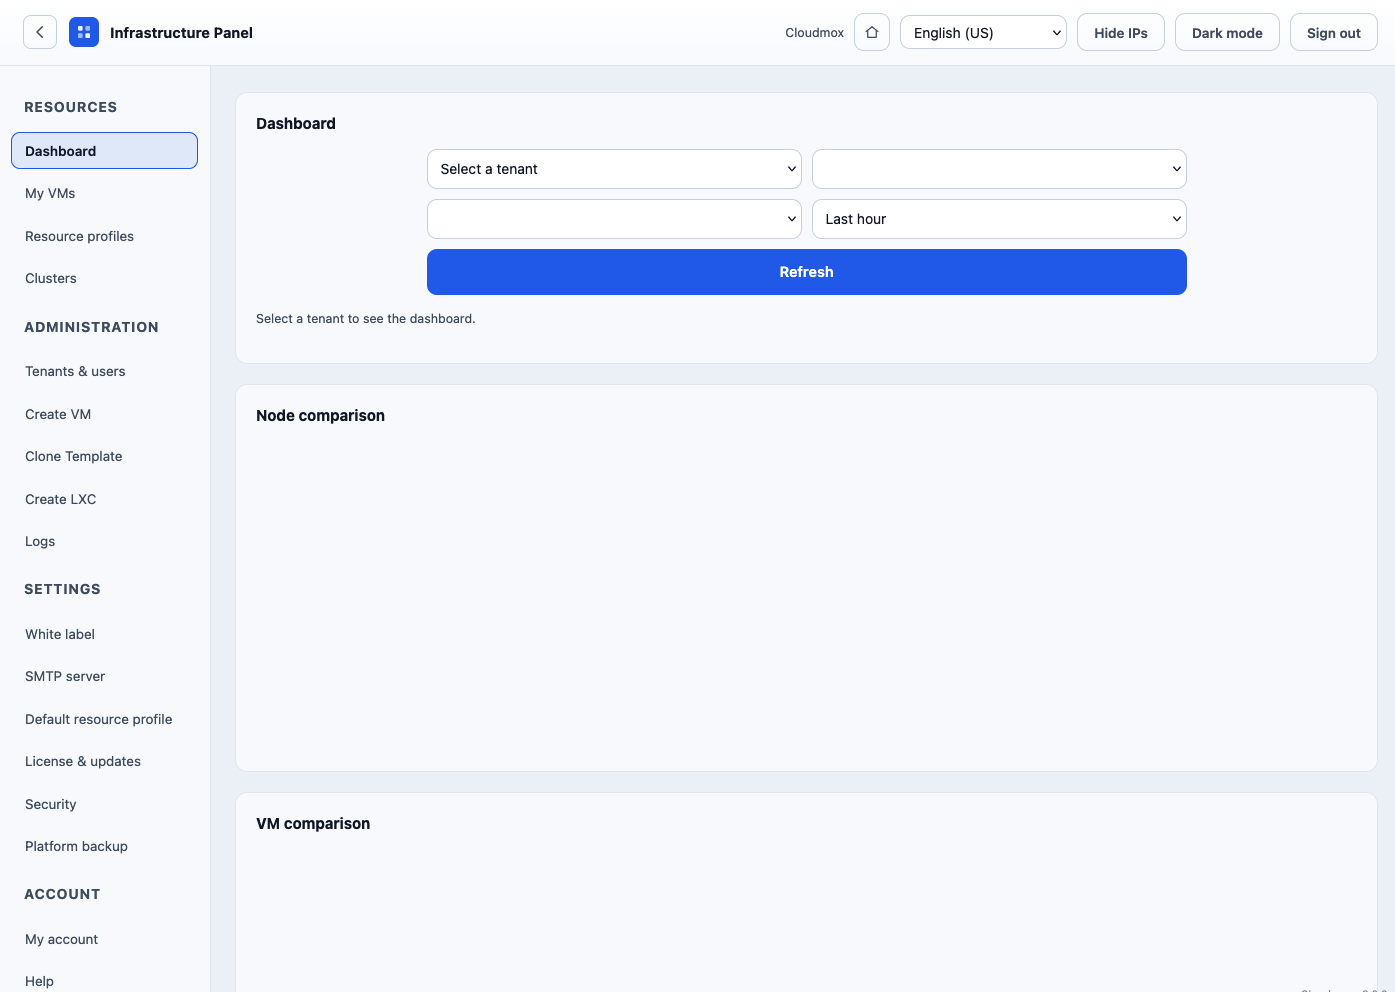
Preparation
From a blank server to your first login. Built for someone who has never installed anything like this: copy, paste, follow in order. Each step is one click or one command.
For this installation, we use the domain demo.cloudmox.eu everywhere a domain is asked. Replace that with your own domain..
- Make sure yo are able to get a server with the minimal server requirements
- Buy a key or request a trial key here. You can continue without a key.
- If you have them available for installation, get the ipaddresses that you server will get (IPv4/IPv6)
- Have administration access to your Proxmox
- Make sure you are able to allow traffic from the new Cloudmox server to your Proxmox admin panel (usually port 8006).
- Have an 2FA app available. For 2FA, we use the universal OAuth. You may already have an app. Otherwise, you can use one of the ones below:
Apple
- OTP Manager (macOS, iOS, watchOS)
- Free OTP for iOS
- Free OTP for Android
Android
Golden rule: the panel only opens on a domain that points to the VPS in your DNS with A/AAAA/CNAME records. The HTTPS security certificate is issued at installation. That will fail if DNS is not set before installation!
So follow the steps below.
Installation of server
- Install the Ubuntu or Debian server with only SSH and optionally server tools. No Apache, databases or desktop.
- Get the public IP address of your server.
- At your DNS provider, you create an A (IPv4) and AAAA (IPv6) record with the name that Cloudmox will use and the public IP-address. If you domainnname is cloudinventor.eu, then you could use demo.cloudmox.eu. Thus cloudmox.[youdomain].[tld].
- Check the firewall settings. Especially inbound port 22, 80 and 443 should be open to the world for a succesfull installation.
- Login to you server with SSH and the SSH password you got when installing the server:
ssh root@demo.cloudmox.eu
This should work. If it says someting like ssh: Could not resolve hostname, then check if DNS is populated via a tool like https://mxtoolbox.com/DnsLookup.aspx
If that check looks like this, you can continue
Login on your VPS via IP if the login via hostname does not work yet for you but DNS check is ok.
ssh root@[ipaddres of server]
Some installations do not allow SSH access as root but only a user with less rights then root. For example debian. In that case, login with ssh debian@ in stead of root@. Once logged in type: sudo su or su root, to switch to root.
Installing Cloudmox
- Login to your Cloudmox server
- Replace demo.cloudmox.eu with your domain in the code below
wget -qO- https://portal.inov.global/downloads/get-cloudmox.sh | PKG_URL=https://portal.inov.global/downloads/cloudmox-3.0.682.tar.gz DOMAIN=demo.cloudmox.eu LICENSE_SERVER=https://portal.inov.global bash
- Paste te code with the replaced domain on the command line of your Cloudmox server as root or as a user with root rights (sudo). When you get a command not found, you might have to install wget (apt install wget)
It downloads the installer, downloads the package and brings everything up. We use Docker, but you do not have to install it. The installer installs it for you.
Paste the command as one single line (do not split it into several lines). Wait a few minutes. At the end, the installer prints the URL and a Setup token, like this:
===================== FIRST ACCESS =====================
URL: https://panel.yourdomain.com
Setup token: cmx-setup-XXXXXXXXXXXX
Copy and save the Setup token. You need it later!
It unlocks the first administrator registration later on. If the screen scrolls and you lose it, recover it anytime with:
docker exec painel-api-1 printenv SETUP_TOKEN
The installer refuses to run if you do not provide your real domain. This is intentional, so you do not install into nowhere
First access: Create administrator
- You can now surf to your server on the domain you created. Following the example, it would be https://demo.cloudmox.eu. At the bottom you can select a language
- The Set up the panel screen appears by itself (only the first time)
- Fill in your e-mail, a strong password (at least 8 characters) and the Setup token that was showed during installation (if you lost it, run "docker exec painel-api-1 printenv SETUP_TOKEN" in the terminal on de Cloudmox server)
- Click Create administrator. The panel logs you in
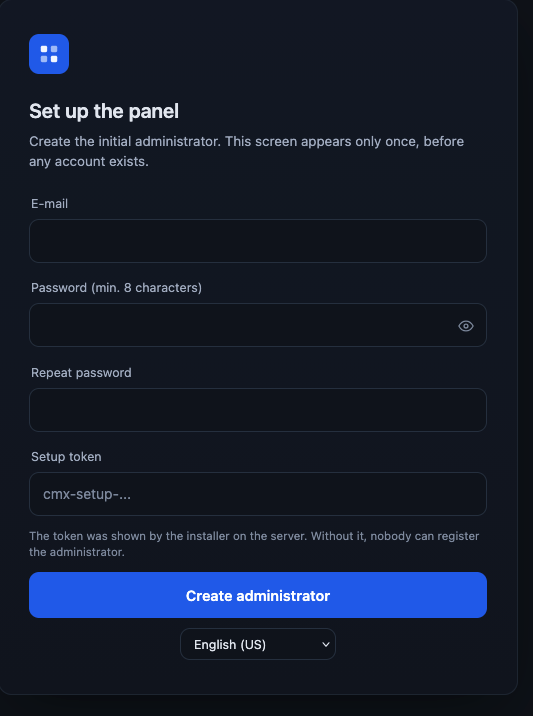
After you create the first administrator, the registration screen closes forever! Nobody else can register through it
Enable two-factor authentication (2FA)
Right after the first login, the panel requires you to enable 2FA before unlocking the rest. It is mandatory. A QR code is shown to setup 2FA
- On your phone, open the authenticator app and choose, add code/toke or Oauth. It should show a way to scan a QR code
- Point the camera at the QR code shown in the panel (or type the manual key next to it)
- Enter the 6-digit code the app generated into the panel and confirm
- rom then on, every login asks for e-mail, password and the app code
The super admin can turn the 2fa requirement on or off under My account, Security, Platform security. We recomend to keep it turned on!
You are done!
That was all. You installed Cloudmox.